
18 Decorating a Dry Erase Board Ideas for Organized Inspiration
A dry erase board isn’t just for quick notes and reminders—it’s a blank canvas for creativity and organization! Decorating your dry erase board can turn a simple functional item into a stylish focal point that boosts motivation and keeps you inspired.
In this article, you’ll discover a variety of fun and practical decorating ideas that will elevate your dry erase board from ordinary to extraordinary. Whether you’re looking for minimalist elegance, colorful designs, or personalized touches, there’s something here to suit every style and space. Get ready to transform your board into a beautiful, organized masterpiece!
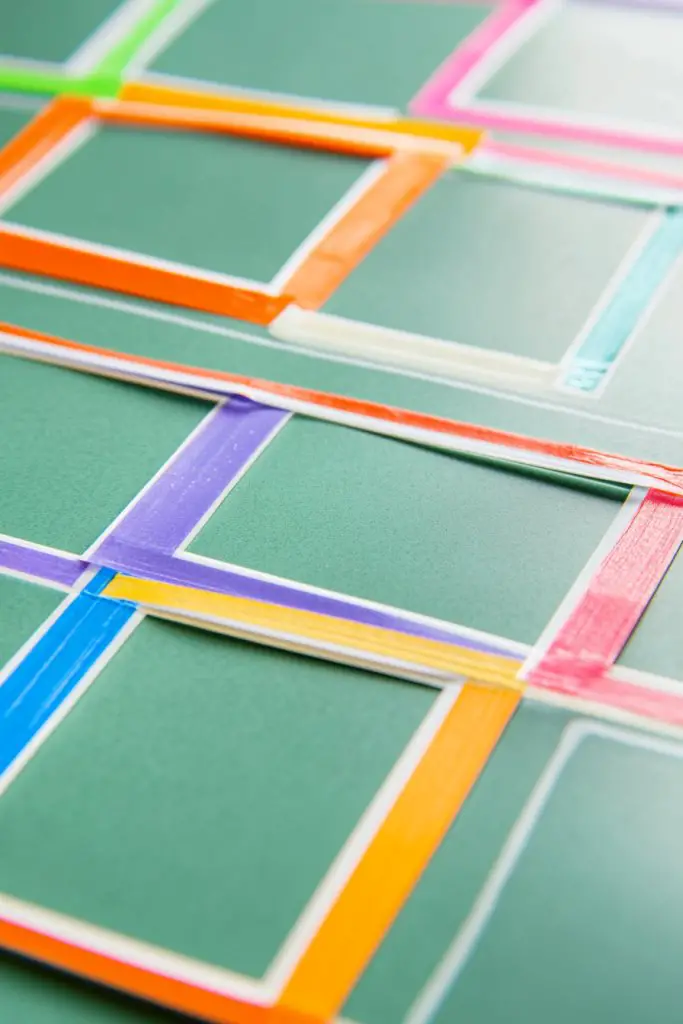
1. Color-Coded Sections for Easy Visual Organization

Ever feel overwhelmed trying to keep track of endless tasks and reminders on a cluttered board? The chaos makes it hard to focus and stay productive. You want a system that’s quick to scan and easy to manage, without sacrificing style. Color-coding offers a simple fix that turns chaos into clarity.
Recommended Products to replicate this idea
| # | Preview | Product | |
|---|---|---|---|
| 1 |

|
Amazon Basics Dry Erase Markers For Whiteboards, Chisel Tip, Low-Odor, Assorted Colors, Pack of 12 | Check Latest Price |
| # | Preview | Product | |
|---|---|---|---|
| 1 |
|
Scribbledo 10 Pack Dry Erase Magnetic Labels 3.1" x 1.2" Reusable Erasable Dry Erase Magnets for... | Check Latest Price |
Imagine a vibrant palette where each section of your dry erase board is a different hue—bright yellows for urgent tasks, calming blues for ongoing projects, and bold reds for deadlines. The colors pop against a clean background, making it a visual delight. When you glance at your board, your brain instantly recognizes the category with a quick color association, cutting down decision time. It’s like a traffic light for your to-do list.
You can customize the color scheme based on your mood or season—pastel tones for spring, rich jewel tones for fall. For small spaces, use contrasting shades to define sections clearly, while large boards can handle more nuanced shades. If you prefer a minimalist look, limit yourself to two or three neutral tones with accents. For team settings, assign specific colors to different members or departments.
Start with a set of vibrant markers—preferably with fine tips for neatness. Divide your board into sections and assign each a color. Use a ruler or masking tape to create clean lines that separate zones. Label each section clearly with a matching color header to reinforce the visual cue. Consistency is key, so stick with your color scheme for a cohesive look. Regularly update and reassign colors as priorities shift.
Add small colored stickers or icons to further categorize or highlight specific items—like stars for high priority or checkmarks for completed tasks. Mix in metallic or neon markers for special events or milestones. You can even incorporate textured tapes or borders to add depth and interest. Personalize your color scheme to reflect your personality or brand style, making the system uniquely yours.
A color-coded system not only makes your board more appealing but also boosts your confidence in staying organized. It transforms a boring task into a creative activity that feels manageable. Plus, it’s scalable—perfect whether you’re a student, a busy professional, or a parent managing a household. Once you see how much easier it is to locate info, you’ll wonder how you ever managed without it.
2. Decorative Frame Enhancements
Does your plain dry erase board feel more like an afterthought than a focal point? A simple frame can elevate its appearance and make your entire space feel more curated. You want something that complements your decor without overwhelming it, adding personality and style. Decorative framing is the easiest way to turn a mundane board into a statement piece.
Recommended Products to replicate this idea
| # | Preview | Product | |
|---|---|---|---|
| 1 |

|
upsimples 8x10 Picture Frame, Natural Solid Wooden Picture Frames, Display 5x7 with Mat or 8 x 10... | Check Latest Price |
| # | Preview | Product | |
|---|---|---|---|
| 1 |
|
upsimples 11x14 Picture Frame, Display Pictures 8x10 with Mat or 11 x 14 Without, Wall Hanging Photo... | Check Latest Price |
Picture a sleek whiteboard encased in a handmade wooden frame with a distressed finish, giving it a rustic charm. Or imagine a metallic frame with intricate patterns that catch the light and add a touch of glamour. You might opt for washi tape in bold prints or soft pastel hues, creating a customized border that matches your vibe. This framing instantly draws attention and creates a visual boundary that makes everything inside pop.
Choose frames that match your interior style—minimalist black or white for modern spaces, ornate gilded options for vintage decor, or colorful washi tapes for playful setups. For seasonal updates, swap out tapes or add themed borders—think floral for spring or glitter for celebrations. Small spaces benefit from slim borders that don’t clutter the visual flow, while larger boards can handle wider, more decorative frames. DIY enthusiasts can craft their own using wood, foam, or even repurposed materials.
Start by measuring your board accurately, then select a frame that fits or can be customized. For washi tape, choose patterned or textured designs that align with your style. Apply the tape carefully along the edges, ensuring straight lines and smooth application. For more substantial frames, attach molding or trim with adhesive or small nails, depending on your surface. Finish by decorating the corners or adding embellishments like ribbons or charms for extra flair. Regularly check and clean the frame to keep it looking fresh.
Personalize your frame with monograms, painted designs, or decorative stickers. You could add led strip lighting behind the frame for a backlit glow or attach small hooks for hanging accessories. Incorporate seasonal themes—winter snowflakes, autumn leaves—by swapping out border elements. Use contrasting colors or textures to make the frame stand out or blend seamlessly with your wall. The goal is to make the frame an extension of your personality.
A well-chosen or crafted frame instantly upgrades your board from functional to fabulous. It makes organizing feel less like a chore and more like an art project. Plus, a decorative frame can inspire you to keep your space neat and inviting, boosting your overall mood. With just a few simple touches, your dry erase board becomes a stylish feature that reflects your taste and makes you proud to display your plans.
3. Artistic Doodles and Calligraphy
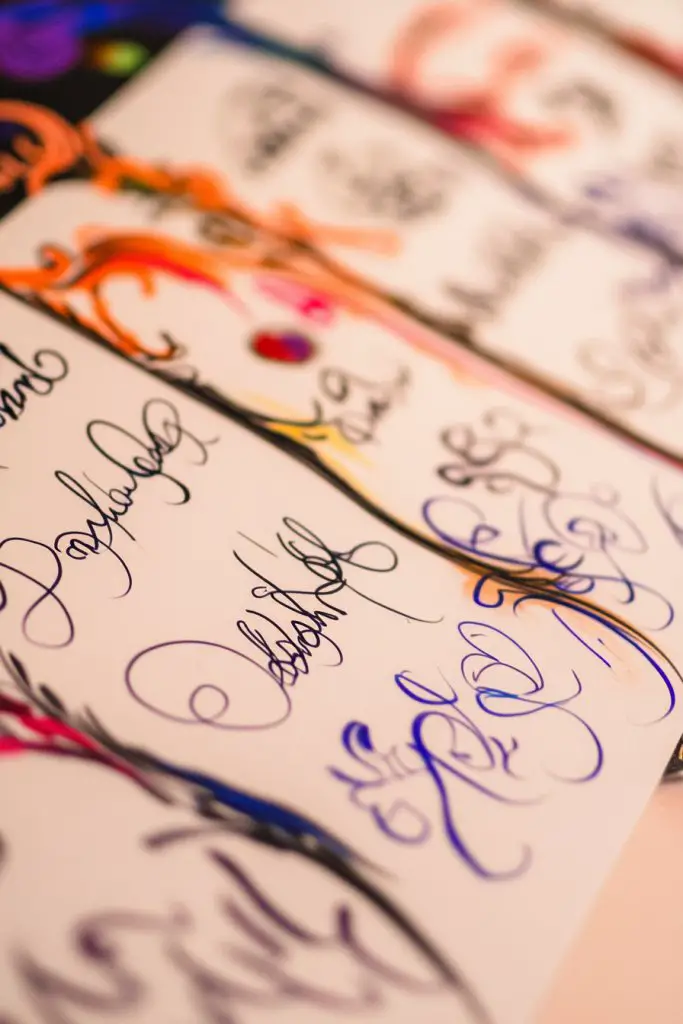
Tired of plain, uninspiring lists on your dry erase board? Adding artistic doodles and elegant calligraphy instantly transforms mundane notes into eye-catching art. You crave a way to make planning more fun and visually stimulating. Plus, it’s a great way to tap into your creative side without needing to be a professional artist.
Recommended Products to replicate this idea
| # | Preview | Product | |
|---|---|---|---|
| 1 |

|
PANDAFLY Calligraphy Pen, 10 Size Calligraphy Pens for Writing, Brush Pens Calligraphy Set for... | Check Latest Price |
| # | Preview | Product | |
|---|---|---|---|
| 1 |

|
120Pcs Vintage Stickers, Waterproof Scrapbook Aesthetic Sticker, Daily Planner, Water Bottles,... | Check Latest Price |
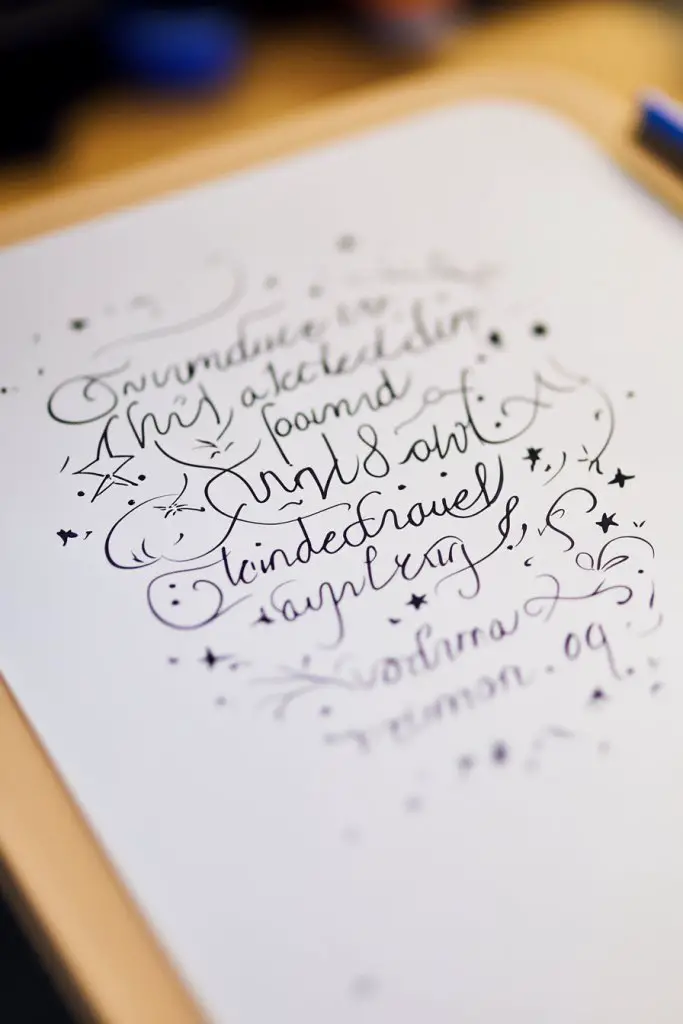
Imagine a calendar filled with beautifully written headers accented by tiny, whimsical doodles—like stars, flowers, or abstract shapes—that add personality. Seasonal quotes written in fancy lettering can motivate you each day. Bright colors and decorative flourishes make your notes stand out, making the process of organizing or brainstorming feel less like a chore. When you glance at your board, it feels more like a personal masterpiece than just a to-do list.
You can choose a minimalist style with simple lines and elegant cursive, or go bold with colorful, playful lettering and exaggerated doodles. For themed seasons or holidays, incorporate relevant motifs—pumpkins for fall, snowflakes for winter. Use stencils or letter guides if you’re not confident in your handwriting, or let loose and freehand for a more organic feel. This approach adapts well to any space, from a home office to a classroom.
Pick your preferred markers—fine tip for detail, thicker for bold outlines—and gather stencils or sketches for guidance. Start with a light sketch of your layout, then go over with permanent or erasable markers. Practice your calligraphy on scrap paper first to build confidence. Incorporate decorative elements like banners or borders to frame your notes. Regularly clean your board to keep doodles and lettering crisp and vibrant. Experiment with colors and styles to find what sparks your inspiration.
Create a signature style by developing your own lettering or doodle motifs. Use metallic or neon markers for special occasions or highlight important tasks. Add small illustrations that reflect your personality—like favorite icons or symbols. Customize your quotes with decorative underlines or shadowing. The key is to make your notes not only functional but also a reflection of your unique artistic flair.
Practicing doodles and calligraphy makes organizing more engaging and satisfying. It encourages you to look forward to updating your board, transforming it into a creative outlet. Over time, your skills will improve, and your notes will become more visually appealing. This artistic approach turns a simple planning tool into a daily source of inspiration and joy.
4. Weekly Mood and Focus Tracker
Struggling to keep tabs on your emotional health and productivity? A weekly mood and focus tracker offers a visual way to monitor patterns and identify what impacts your well-being. You want a system that’s both functional and decorative, motivating you to stay engaged. Tracking your mood can help you make smarter choices and improve your overall lifestyle.
Recommended Products to replicate this idea
| # | Preview | Product | |
|---|---|---|---|
| 1 |

|
You found a duck Mood Meter Poster for Kids and Adults – Mental Health Feelings Chart for Therapy... | Check Latest Price |
| # | Preview | Product | |
|---|---|---|---|
| 1 |
|
Focus Boosting Stickers (90 Pack) - Healthy Brain Supports for Attention, Paper, Bubble Design, Drug... | Check Latest Price |
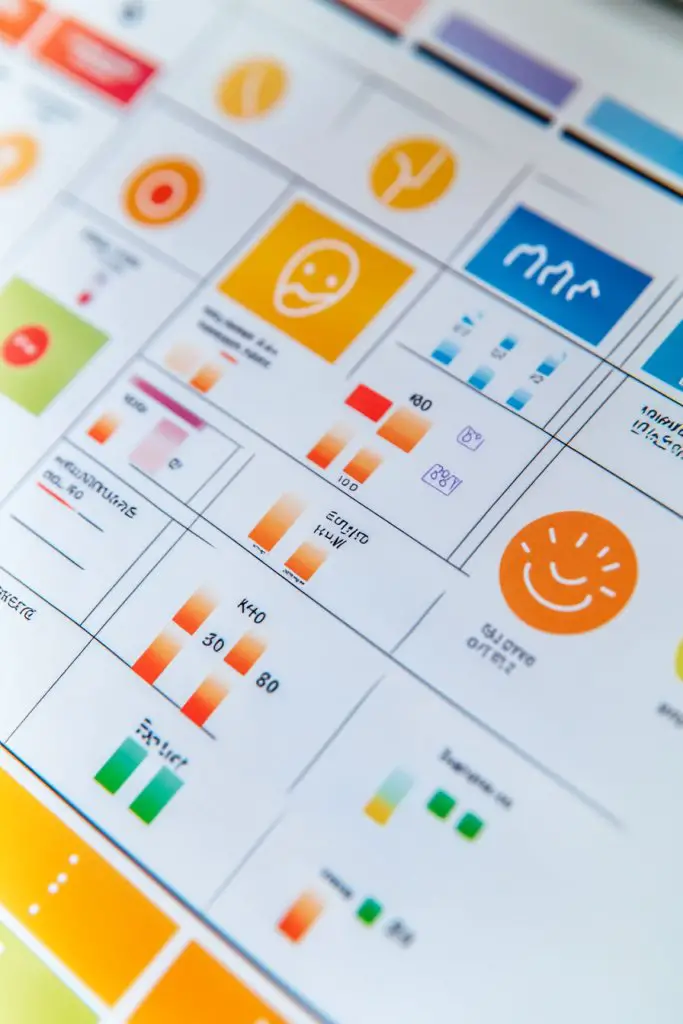
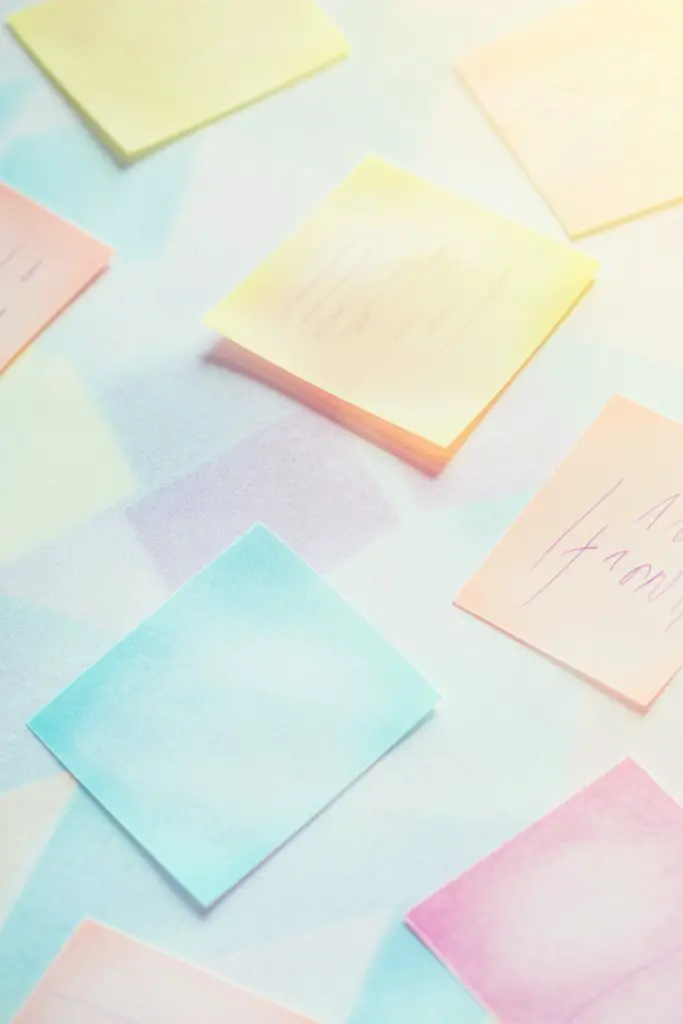
Picture a colorful chart with icons or symbols—smiley faces for good days, clouds for rough days—arranged neatly across the week. Each day’s mood is highlighted with a different shade, creating a rainbow of emotions. Alongside, you might add symbols for focus levels or energy, giving a quick snapshot of your mental state. When you look at it, the visual story of your week unfolds, showing highs, lows, and patterns. It’s like a mood mosaic that helps you understand yourself better.
You can customize this tracker to fit your style—minimalist with monochrome icons or vibrant with a rainbow palette. For a more detailed view, include sections for sleep, exercise, or habits. Seasonal themes can make it more engaging—pastel colors in spring, fiery tones in fall. For couples or families, create shared trackers to foster communication and support. The layout can be vertical, horizontal, or grid-based, depending on your space.
Design your tracker using icons, colors, and space efficiently—preferably with erasable markers for easy updates. Divide your board into days of the week, then assign a color or icon per day based on your mood or focus. Use a legend or key to explain your symbols for quick reference. Incorporate a small space for notes or reflections, helping you connect emotions with specific events. Regular updates keep the tracker relevant and insightful. Consider adding decorative elements like borders or headers to make it inviting.
Make it your own by including motivational quotes or affirmations. Use themed stickers or washi tape to frame sections or highlight important days. You could also add small photographs or tokens that symbolize your mood or achievements. Incorporate a weekly summary or reflection space to analyze trends. This personalized approach turns a simple tracker into a meaningful self-care tool.
Tracking your mood and focus helps you recognize patterns and take proactive steps for improvement. It makes your mental health journey more tangible and less abstract. Seeing positive trends or acknowledging challenges boosts your confidence and resilience. With a visually appealing system, you’re more likely to stay consistent and motivated to improve each week.
5. Motivational Quote of the Day
Sometimes, all you need to stay motivated is a little dose of inspiration right on your workspace. The problem is, most boards are cluttered and uninspiring, making it hard to find that spark. A daily motivational quote can uplift your mood and set a positive tone for the day. It’s a simple addition that packs a punch in boosting productivity and mindset.
Recommended Products to replicate this idea
| # | Preview | Product | |
|---|---|---|---|
| 1 |
|
PANDAFLY Calligraphy Pen, 10 Size Calligraphy Pens for Writing, Brush Pens Calligraphy Set for... | Check Latest Price |
| # | Preview | Product | |
|---|---|---|---|
| 1 |

|
Prudiut 15 Pack 11x14 Picture Mats, Mixed Colors Frame Mattes for 8 x10 Pictures Photo Frame Mat... | Check Latest Price |
Imagine a beautifully handwritten quote in flowing calligraphy, accented with colorful underlines or decorative flourishes. You might use a vibrant marker to emphasize keywords or frame it with doodles that reflect the quote’s theme. The words stand out against a clean background, catching your eye as soon as you glance at the board. Over time, your board becomes a source of daily encouragement, with each quote adding a new layer of inspiration.
Choose quotes that resonate with your goals or mood—motivational, humorous, or reflective. Rotate quotes weekly or daily to keep things fresh. For a rustic look, write with chalk or chalk markers; for a modern vibe, use metallic or neon markers. You can also incorporate themed quotes for holidays or special occasions. For shared spaces, involve others in selecting or creating quotes to foster a collaborative spirit.
Pick a dedicated space on your board for the quote—top center or side margin works well. Use stencils, templates, or freehand your lettering depending on your skill level. Enhance the quote with decorative borders, banners, or small illustrations that complement the message. Change the quote regularly—daily or weekly—to keep the motivation fresh. Consider printing or using pre-made stickers for consistency or a professional look. Keep your tools handy for quick updates.
Add personal touches like your favorite colors, symbols, or motifs that align with your values. Use washi tape or decorative stickers to frame or highlight the quote. Incorporate your handwriting style or develop a signature font for consistency. You might even record short voice notes or video clips as part of digital boards for a multimedia approach. Personalization makes each quote meaningful and uniquely yours.
A daily dose of motivation can reshape your mindset and boost your confidence. Over time, these quotes reinforce positive habits and attitudes. They remind you of your potential, especially on tough days. When your board becomes a hub of uplifting words, staying focused and optimistic feels more natural, making your daily routines more joyful.
6. Themed Washi Tape Borders
Looking to add a splash of personality to your dry erase board without overwhelming it? Washi tape is your best friend—easy to apply, removable, and endlessly customizable. It instantly elevates your board’s look, giving it a polished or playful vibe depending on your style. This small touch can make your organization system feel fresh and engaging.
Recommended Products to replicate this idea
| # | Preview | Product | |
|---|---|---|---|
| 1 |

|
YUBBAEX 60 Rolls Skinny Washi Tape Set Gold Foil Masking Thin Basic Patterns Decorative Tapes for... | Check Latest Price |
| # | Preview | Product | |
|---|---|---|---|
| 1 |
|
Amazon Basics Dry Erase Markers For Whiteboards, Chisel Tip, Low-Odor, Assorted Colors, Pack of 12 | Check Latest Price |
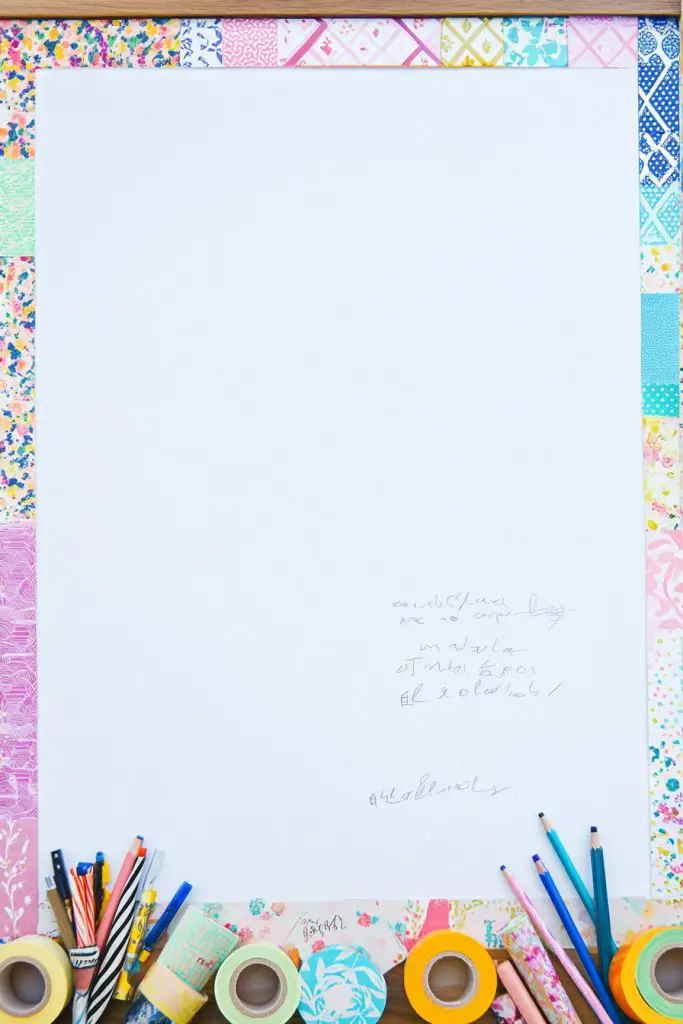
Imagine a clean whiteboard edged with washi tape in a cheerful floral pattern, or perhaps a sleek geometric design that complements your modern decor. The tape’s colors and patterns create a visual boundary, defining sections or highlighting key areas. When you step back, the borders add a layer of sophistication or whimsy, depending on your choice. It’s like giving your board a decorative frame that’s easy to change with the seasons or mood.
Choose washi tapes that match your decor theme—bright, bold stripes for a lively space or muted pastels for a calm environment. Use different patterns for distinct sections, such as polka dots for reminders and chevrons for goals. For special occasions or holidays, swap in themed tapes—gold for New Year, red and green for Christmas. You can also layer tapes for a textured, layered effect. Even small accents like corner embellishments or corner protectors add charm.
Select washi tapes in various patterns and colors that suit your style. Measure the edges of your board and cut strips slightly longer than needed for a clean look. Apply the tape smoothly, pressing firmly to avoid air bubbles or wrinkles. Use a craft knife or scissors to trim excess for a crisp finish. For a more intricate look, combine different patterns or create borders with multiple layers. Regularly replace or reposition tapes to keep your design fresh.
Personalize borders with initials, small icons, or decorative motifs using contrasting tapes or stickers. Incorporate metallic or glitter tapes for a festive touch. Use washi tapes with textures or embossed patterns to add depth. For a cohesive look, coordinate your tape patterns with other decor elements in your space. You can even create custom labels or titles within the borders for a unified appearance.
A themed washi tape border transforms your board into a stylish feature, encouraging regular updates. It makes organization feel fun rather than a chore. You’ll enjoy seeing your personalized borders evolve over time, reflecting your creative growth. This simple upgrade can spark pride in your space, motivating you to maintain your organization system with confidence.
7. Use of Functional Accessories as Decor
A cluttered board with messy markers and scattered supplies kills the vibe. You want your dry erase area to be both functional and stylish, blending practicality with aesthetic appeal. Using accessories like magnets, clips, or small containers can help you keep everything tidy and add a decorative touch. It’s a win-win that makes your workspace look intentional and organized.
Recommended Products to replicate this idea
| # | Preview | Product | |
|---|---|---|---|
| 1 |
|
Grtard 12 Pack Magnetic Clips, Fridge Magnets Refrigerator Magnets, Strong Magnetic Clips Heavy... | Check Latest Price |
| # | Preview | Product | |
|---|---|---|---|
| 1 |

|
Airtight Food Storage Containers with Lids, Vtopmart 24 pcs Plastic Kitchen and Pantry Organization... | Check Latest Price |
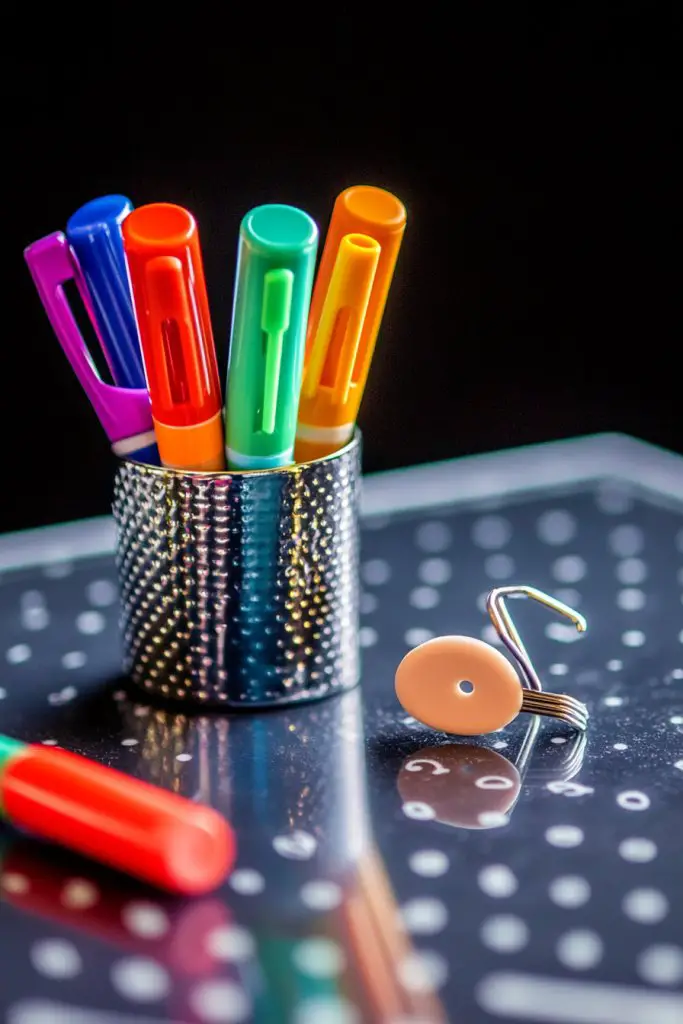
Picture sleek magnetic clips holding colorful index cards or sticky notes, arranged in an orderly fashion. Small containers or cups mounted on the board can store markers, erasers, or other tools, reducing clutter. Decorative magnets in fun shapes or metallic finishes add personality. When everything has a designated spot, your board looks purposeful and inviting, encouraging you to use it more often. It’s like decorating with purpose.
Choose accessories that match your decor style—metallic for industrial, pastel for soft, cozy spaces. Use colorful clips or themed containers for seasonal or project-specific organization. For shared boards, personalize accessories with initials or icons for each user. You can also incorporate decorative elements like ribbon or string to hang additional items or notes. The key is balancing function with style to suit your needs.
Start by selecting magnetic accessories and containers that fit your supplies. Mount small containers using brackets or strong adhesive, ensuring they’re within easy reach. Use magnets to attach important notes or reminders that you can rearrange effortlessly. Choose clips and holders that are sturdy and visually appealing—think sleek metal or playful shapes. Organize your tools so everything has a dedicated spot, making your system intuitive. Regularly update and clean accessories to keep the aesthetic fresh.
Personalize accessories with stickers, decals, or custom labels to match your overall decor. Use themed containers or magnets for special projects or holidays. Incorporate decorative elements like small charms or tassels for added flair. You could even paint or decorate your containers for a DIY touch. The goal is to make your accessories an extension of your style, encouraging ongoing use.
Functional accessories don’t just tidy up—they boost your confidence in managing your space. When everything is organized and attractive, you’re more motivated to update and maintain your system. It transforms a mundane task into a satisfying routine. Over time, your board becomes a reflection of your organizational skills and aesthetic sensibility, inspiring consistency and pride.
8. Incorporating Inspirational Photos or Clippings

A plain board can feel uninspiring and disconnected from your personal goals or motivations. Adding photos and clippings makes your space more meaningful and energizing. You want a visual storytelling element that fuels your motivation daily. It’s about turning your organization zone into a source of inspiration and positivity.
Recommended Products to replicate this idea
| # | Preview | Product | |
|---|---|---|---|
| 1 |

|
Vittanly 15 Pack Picture Frames Collage Wall Decor for Mounting or Tabletop Display, Gallery Frame... | Check Latest Price |
| # | Preview | Product | |
|---|---|---|---|
| 1 |

|
VIZ-PRO Magnetic Dry Erase Board, 36 X 24 Inches, Silver Aluminium Frame | Check Latest Price |
Imagine a collage of your favorite photos—dream destinations, family moments, or motivational quotes—attached to your board with washi tape or magnets. These visuals create a personal gallery that reminds you of your aspirations and loved ones. Small magazine cutouts or fabric swatches can add texture and depth, making your board a tactile experience. When you see these images daily, they serve as constant reminders of your goals and values.
Arrange photos in a grid, a freeform collage, or with decorative borders. Use themed backgrounds or frames that match your decor style—vintage, modern, rustic. For seasonal updates, replace or add new images reflecting current goals or moods. For a more polished look, print photos in uniform sizes or develop a consistent color theme. Mix in inspirational quotes or affirmations to enhance the mood.
Use removable adhesive or magnetic clips to attach photos and clippings, avoiding damage when updating. Create a dedicated space on your board for this collage, balancing visual weight with text or notes. Incorporate a variety of sizes and shapes for visual interest. Consider laminating or using clear sleeves for fragile items. Regularly refresh your collage to keep it relevant and inspiring.
Personalize your photos with handwritten notes, doodles, or decorative borders. Add small keepsakes or tokens—like ticket stubs or fabric samples—that hold sentimental value. Incorporate themed stickers or washi tape to frame or highlight key images. Use a consistent style or color palette to unify the visual story. This makes your board a personal motivational gallery.
Seeing personal photos and inspiring clippings daily boosts your mood and focus. It reminds you of your journey and what truly matters, fostering resilience. Over time, your space becomes a motivational sanctuary you’re proud of. This visual storytelling approach encourages ongoing progress and keeps your goals top of mind.
9. Minimalist Monochrome Design
Does clutter and color overload make your workspace feel chaotic? A minimalist monochrome design creates a sleek, calming environment that promotes focus. You crave clarity and simplicity, cutting out distractions while maintaining style. This approach turns your board into a sophisticated, clutter-free zone.
Recommended Products to replicate this idea
| # | Preview | Product | |
|---|---|---|---|
| 1 |
|
Amazon Basics Dry Erase Markers For Whiteboards, Chisel Tip, Low-Odor, Assorted Colors, Pack of 12 | Check Latest Price |
Visualize a clean whiteboard with subtle shades of gray or black accents—simple lines, neat handwriting, and minimal icons. The monochrome palette emphasizes organization without visual noise. Shadows and textures add depth, making even the simplest elements stand out. When you look at it, your brain instantly recognizes order, reducing stress and mental clutter.
Stick to a limited color scheme—black, white, and gray—for a timeless look. Use uniform icons and clean fonts for clarity. For a softer feel, incorporate shades of beige or pastel tones, but keep the overall palette restrained. Adapt the style based on your space—sleek modern, Scandinavian, or industrial. For a more dynamic look, add subtle patterns or textures like linen or matte finishes.
Choose high-quality markers and pens with consistent ink flow. Keep handwriting neat and uniform, perhaps using templates for headers. Use simple icons or symbols, avoiding decorative flourishes. Keep the background clean—white or light neutral tones—and minimize decorative elements. Regularly maintain the board by erasing smudges or clutter. Focus on symmetry and balance for a calming effect.
Add subtle accents like textured tape or embossed stickers that match the monochrome theme. Use metallic pens or foils for highlights or borders. Incorporate a few high-contrast elements to draw attention where needed. Personal touches like initials or small geometric shapes can tie everything together. Keep updates minimal but impactful, preserving the minimalist aesthetic.
A monochrome design fosters a peaceful mindset and sharpens focus. It helps eliminate visual distractions, making tasks feel more manageable. Over time, this simplicity inspires discipline and clarity in your routines. Your space becomes a sanctuary of calm, encouraging you to stay organized and motivated every day.
10. Seasonal and Holiday Themes

Bored with the same old look on your dry erase board? Seasonal and holiday themes keep your space fresh, fun, and aligned with the time of year. They spark joy and anticipation, making organization a festive activity. You want your board to reflect the spirit of the season and boost your mood.
Recommended Products to replicate this idea
| # | Preview | Product | |
|---|---|---|---|
| 1 |
|
bloom daily planners Holiday Seasonal Planner Sticker Sheets - Vintage Seasonal Sticker Pack -... | Check Latest Price |
| # | Preview | Product | |
|---|---|---|---|
| 1 |
|
Geyee 12 Rolls 394 ft Holiday Bulletin Board Borders Seasonal Bulletin Board Decorations Winter... | Check Latest Price |
Imagine a spring-themed board with pastel colors, floral doodles, and light, airy accents. For winter, incorporate snowflakes, cozy textures, and warm hues. During holidays, add themed stickers, borders, or icons—think pumpkins for Halloween or ornaments for Christmas. These visual cues set the tone and make your board more inviting. When you update it regularly, it feels like a celebration each time.
Use washi tapes, stickers, or printable decorations that match the holiday or season. Change color schemes to reflect the mood—bright and cheerful for summer or deep and muted for fall. Incorporate related imagery or icons that evoke the spirit of the event. For smaller spaces, focus on subtle details; for larger boards, go all out with layered decorations. It’s easy to swap out elements for each occasion.
Gather themed stickers, tapes, or printable designs beforehand. Plan your layout to include seasonal borders, headers, or icons. Apply decorations carefully—washi tape along the edges, stickers for key notes or reminders. Use printable templates for labels or quotes that match the theme. Regularly update the board to keep it relevant, and store seasonal elements for reuse. Keep decorations removable for easy changes.
Create custom banners or headings with seasonal motifs. Incorporate your favorite colors or symbols related to the holiday. Use themed washi tapes to frame sections or highlight important tasks. Add small decorative items like mini garlands or paper cutouts. Personal touches make each update special, keeping your space lively and inspiring.
Seasonal themes keep your environment dynamic and engaging, preventing boredom. They help you embrace change and celebrate moments, boosting your overall mood. Regular updates remind you of upcoming events and motivate you to stay organized. A festive, themed board turns planning into a joyful ritual that energizes your routines.
11. Incorporating Patterned Backgrounds
A plain whiteboard can feel sterile and uninspiring. You want to add some visual interest without cluttering the space. Patterned backgrounds offer a subtle way to enhance your board’s aesthetic while maintaining functionality. They bring texture and personality without overwhelming your notes.
Recommended Products to replicate this idea
| # | Preview | Product | |
|---|---|---|---|
| 1 |
|
Art3dwallpanels 33 Pack 3D Wall Panel Diamond for Interior Wall Décor, PVC Flower Textured Wall... | Check Latest Price |
| # | Preview | Product | |
|---|---|---|---|
| 1 |

|
Yuntau 4 Pcs Wood Bow Appliques for Furniture Wood Appliques Onlays Decorative Frame Center Carving... | Check Latest Price |
Picture a transparent overlay of delicate floral patterns or geometric designs behind your writing surface. The patterns add depth and character, making your board feel more integrated into your decor. When you write over the background, the contrast remains clear, and the design provides a gentle visual cue. It’s like giving your workspace a stylish backdrop that’s both functional and artistic.
Choose removable wallpaper, decorative paper, or printable decals with patterns that match your style—minimalist lines, intricate motifs, or playful prints. Apply them behind a clear acrylic sheet or directly onto the board if compatible. For seasonal updates, swap out the background with different patterns—floral for spring, abstract for summer. For a more subtle look, opt for faint patterns or muted tones that won’t interfere with readability.
Measure your board carefully and select patterned materials that fit within those dimensions. Use double-sided tape or adhesive sheets for easy application. If using removable wallpaper, ensure it’s easily peelable without residue. For printable options, print on sticker paper or adhesive-backed sheets. Smooth out air bubbles and edges thoroughly for a seamless look. Replace or refresh patterns periodically to keep the design lively.
Add overlays with custom designs—initials, symbols, or motifs that reflect your personality. Incorporate subtle textures or embossing for tactile interest. Use coordinated colors for your writing tools to blend with the background. You can also add small decorative accents around the edges for a framed effect. Personal touches make the background an extension of your style.
A patterned background elevates your board from a simple organizer to a curated decor piece. It encourages you to update and customize regularly, keeping your space fresh. Over time, it helps establish a cohesive aesthetic that boosts your confidence in your design choices. Your workspace becomes a reflection of your creativity and taste.
12. Artistic Borders with Dotted or Striped Designs
Bored of plain borders that do nothing to draw attention? Artistic borders with dotted, striped, or zigzag patterns add visual interest and help organize your notes. They make sections stand out and give your board a polished, intentional look. You want borders that are fun, creative, and functional.
Recommended Products to replicate this idea
| # | Preview | Product | |
|---|---|---|---|
| 1 |

|
Craft Décor CD970B Chalkboard Tape 11/16in x 5m, Dotted Border | Check Latest Price |
| # | Preview | Product | |
|---|---|---|---|
| 1 |
|
FLFK Wallpaper Border - Black and White Striped Wall Borders Decal Peel and Stick Trim 7" x 240" | Check Latest Price |
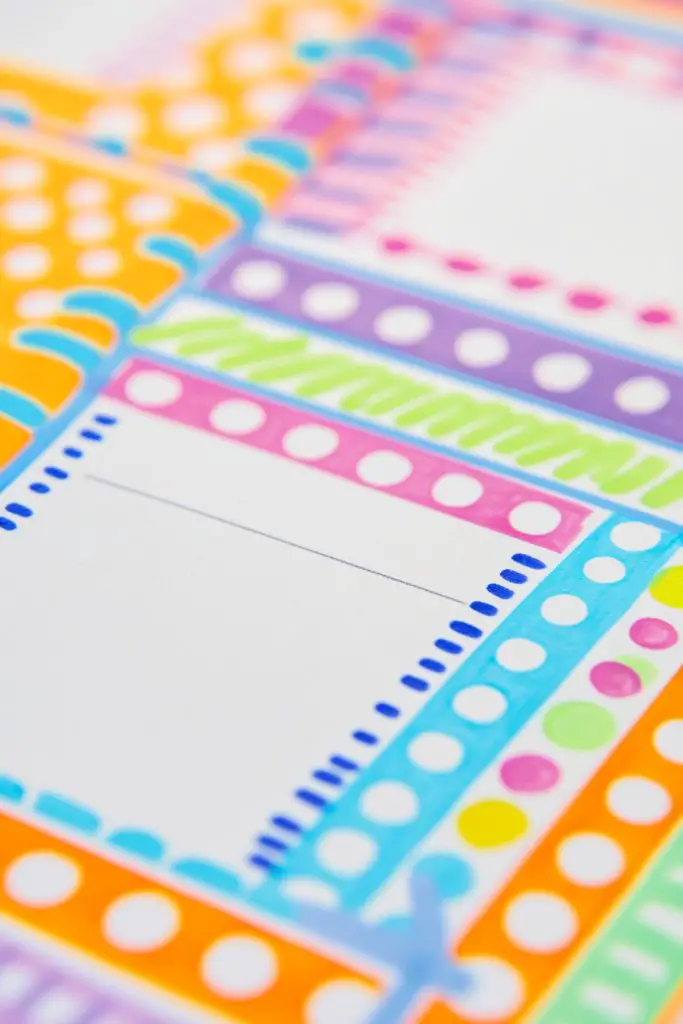
Picture a border of evenly spaced dots in a vibrant hue framing your weekly plan. Or imagine bold, striped lines that segment different areas—like goals, reminders, and deadlines. These patterns add rhythm and structure, guiding your eye naturally across the board. When done well, they turn a simple boundary into a decorative feature that energizes your space.
Use different patterns—dotted for a playful vibe, striped for a sleek modern look, zigzag for a dynamic feel. Mix colors within your borders to match your overall decor or mood. For seasonal or themed updates, choose colors or patterns that reflect the current time—pastels for spring, bold for celebrations. For a more subtle touch, opt for thin lines or faint dots that don’t overpower your notes.
Select fine-tipped markers or pens suitable for your surface. Draw your borders freehand for a casual look or use stencils for precision. Start with light guidelines, then trace over with darker, more vibrant colors. Use masking tape or rulers to keep lines straight and even. For a cleaner finish, erase guidelines after the ink dries. Incorporate decorative accents like small stars or hearts within the border for extra charm.
Personalize borders with initials, symbols, or thematic icons. Use contrasting colors for variety or tone down for a minimalist effect. Add small embellishments—like tiny flowers or geometric shapes—to make borders more engaging. You can also incorporate textured tapes or embossing for tactile interest. These details make your borders a signature feature.
Decorative borders make your entire setup more attractive and inviting. They encourage you to keep your notes neat and organized, fostering pride in your space. Over time, experimenting with different patterns boosts your confidence in your design skills. Your board becomes a stylish display of your personality and organizational prowess.
13. Adding Functional Icons and Symbols
Cluttering your board with lengthy notes makes it hard to scan quickly? Simple icons and symbols can convey information instantly and make your notes more visually appealing. You want a system that’s both decorative and highly functional, reducing visual noise while increasing clarity. Clear symbols turn your board into an intuitive communication hub.
Recommended Products to replicate this idea
| # | Preview | Product | |
|---|---|---|---|
| 1 |

|
Vladi Creative Mini Planner Stickers - 2210 Pcs, 14 Sheets, Decorative & Productivity-Boosting... | Check Latest Price |
| # | Preview | Product | |
|---|---|---|---|
| 1 |

|
SIQUK 4200 Pieces Page Marker Tabs Colored Sticky Page Tabs Page Flags Fluorescent Tape Flags Index... | Check Latest Price |
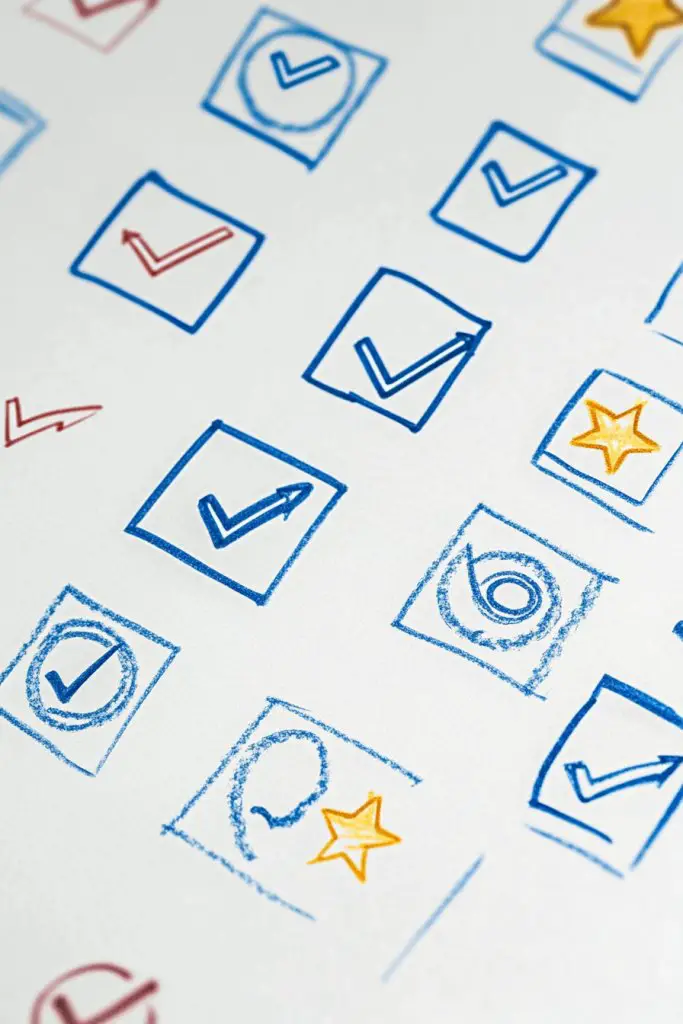
Imagine small icons—like a clock for deadlines, a checkmark for completed tasks, or a star for priorities—next to your notes. Use consistent symbols for different types of tasks, creating a visual language that’s easy to interpret at a glance. Color-coding icons further enhances their meaning, making your entire system more efficient. When you glance at your board, symbols tell a story that words alone cannot convey.
Create a set of icons that match your style—minimalist line drawings, bold filled shapes, or colorful illustrations. Use stencils or digital templates for uniformity. Incorporate icons for specific needs, such as hydration, breaks, or meetings. For seasonal or thematic updates, swap icons or add new ones to reflect changing priorities or moods. This system is flexible enough to evolve with your needs.
Design or download icon templates compatible with your tools. Draw or print icons onto sticker paper or cutouts for easy application. Place icons strategically next to relevant notes or sections, maintaining consistent spacing and size. Use fine-tipped markers to add details or color. Keep a legend or key nearby, especially if your icons are complex. Regularly review and update icons for clarity and relevance.
Customize icons with your favorite colors or motifs—flowers, arrows, or symbols that hold special meaning. Combine icons with decorative elements like borders or backgrounds. Use metallic or glitter pens to add shimmer to special icons. Personal touches make your visual language unique and engaging. It encourages you to maintain a tidy, intuitive system.
Icons simplify complex information, making your board easier to read and more attractive. They boost your confidence in your organizational skills and visual communication. Over time, your icon system becomes second nature, speeding up your workflow. Your space becomes a stylish, functional tool that motivates you daily.
14. Using Transparent Overlays or Stickers
Sometimes, your notes can look cluttered or dull, especially when your handwriting isn’t perfect. Transparent overlays or stickers can add a decorative layer that enhances readability and style. They allow you to personalize your notes without covering up the underlying content. This gives your board a sleek, layered effect.
Recommended Products to replicate this idea
| # | Preview | Product | |
|---|---|---|---|
| 1 |

|
Frisco Craft Transparent Self Adhesive Laminating Roll - Self Laminating Sheets for Decals, Sticker,... | Check Latest Price |
| # | Preview | Product | |
|---|---|---|---|
| 1 |

|
480 Pieces Inspirational Quote Daily Planner Stickers for Women Journaling Calendar Scrapbook... | Check Latest Price |
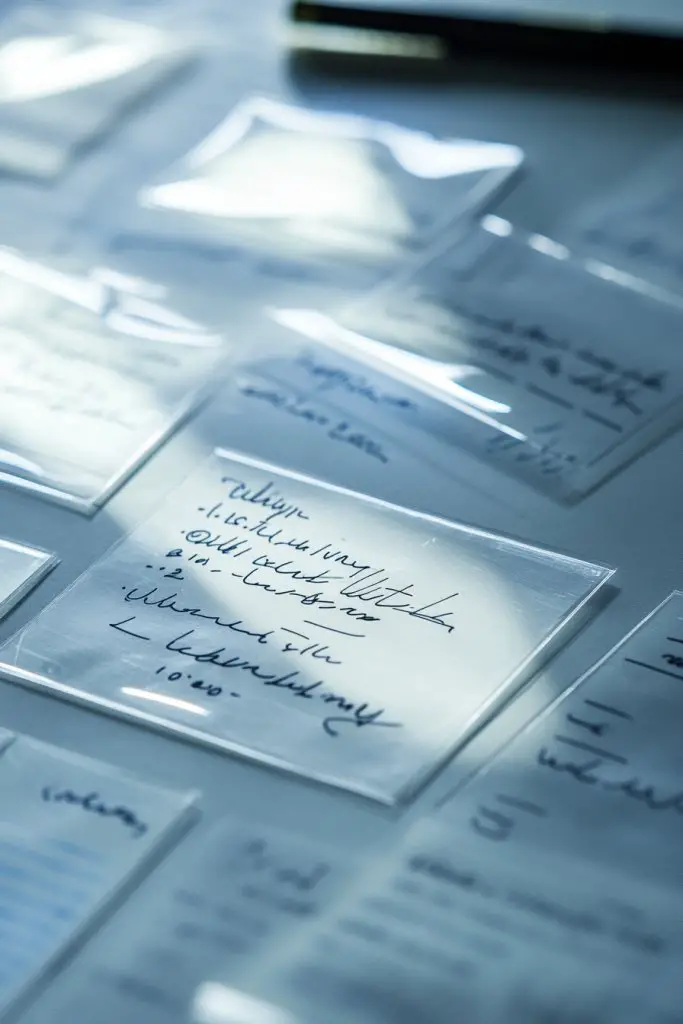
Picture clear, adhesive decals with motivational phrases or decorative motifs placed over your notes. These overlays can be simple words or intricate designs that add texture and depth. When applied thoughtfully, they create a professional or artistic vibe. The transparency ensures your notes remain visible, but the overlays add a polished finish. When you glance at your board, it feels both organized and sophisticated.
Choose overlays that match your style—minimalist, floral, geometric, or themed. Use transparent stickers with patterns, metallic accents, or matte finishes to create different effects. Layer multiple overlays for a complex, textured look. For seasonal updates, swap overlays with themed designs—hearts, snowflakes, or stars. Keep the overlays removable for easy updates or changes.
Select high-quality transparent stickers or decals compatible with your surface. Clean your board thoroughly before application. Carefully place overlays over your notes, smoothing out bubbles or wrinkles. Use tweezers for precise placement of intricate designs. If needed, trim excess with scissors or craft knives for a seamless look. Regularly clean overlays to prevent dirt buildup. Swap or reposition as your notes evolve.
Personalize overlays with your favorite quotes, initials, or motifs by customizing printable decals. Combine with decorative borders or backgrounds for a layered effect. Use metallic or glitter overlays for special occasions. Coordinate overlays with your overall decor theme for harmony. These subtle details make your board a reflection of your style.
Transparent overlays elevate your notes into artful displays that are both functional and beautiful. They motivate you to update regularly, knowing your space looks polished. Over time, they help develop a refined aesthetic sense and a cohesive look. Your board becomes a stylish centerpiece that inspires confidence and productivity.
15. Incorporating a Color Palette Theme
Feeling overwhelmed by a chaos of colors and clutter? A unified color palette creates harmony and coherence in your organizational space. It simplifies your choices, making your board look intentional and well-designed. You want a system that’s visually pleasing and easy to maintain.
Recommended Products to replicate this idea
| # | Preview | Product | |
|---|---|---|---|
| 1 |

|
HYBLOM Vintage Color-Mixing Chart Metal Tin Sign - Classroom Watercolor Painting necessity Poster,... | Check Latest Price |
| # | Preview | Product | |
|---|---|---|---|
| 1 |

|
6 Sets 216 Tips Nail Color Swatch, Double Layer Tips Clear Nail Color Display Palette Paint Practice... | Check Latest Price |
Imagine a board where every section, header, and note adheres to a specific palette—muted pastels, bold primaries, or earth tones. The consistent colors tie everything together, creating a cohesive aesthetic. When you look at your board, your eye naturally flows from one section to another, guided by the color logic. It’s like a visual harmony that reduces mental clutter and boosts focus.
Choose a palette that reflects your personality or decor style—soft neutrals for a calming vibe, vibrant colors for energy, or muted tones for elegance. Use the palette for headers, highlights, or backgrounds, ensuring balance and contrast. Adapt the palette seasonally—bright for summer, warm tones for autumn. For team spaces, assign colors to individuals or projects for clarity.
Select markers, tapes, and accessories that match your chosen palette. Plan your layout to ensure color distribution feels balanced and intentional. Use color-coded headers and separators to define sections. Keep a reference palette handy to maintain consistency. Regularly review and adjust as your needs or tastes evolve. Avoid overusing one color to prevent imbalance.
Incorporate your favorite shades or create custom color mixes for unique tones. Use color to emphasize key tasks or milestones—bright for urgent, subdued for ongoing. Add decorative accents that match your palette—stickers, borders, or washi tape. Personal touches ensure your system remains inspiring and aligned with your style.
A unified color theme simplifies organization and elevates your space’s aesthetic. It helps you stay consistent and disciplined, making updates feel less daunting. Over time, your confidence in design choices grows, and your space becomes a chic, functional hub that motivates you daily.
16. Monthly Planning with Decorative Calendars
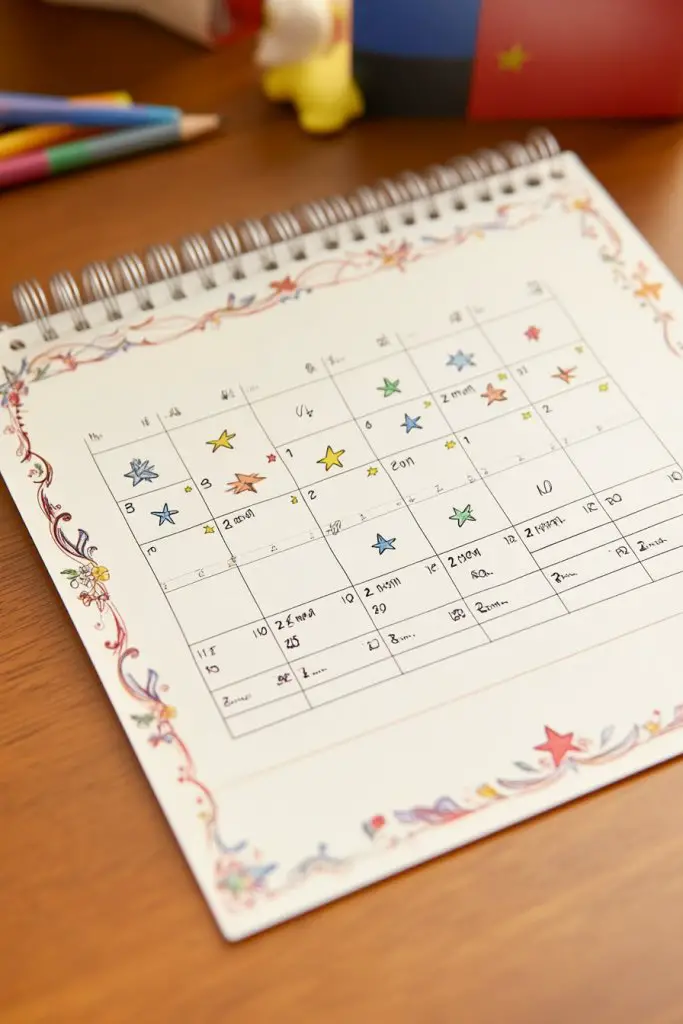
Regularly missing deadlines or forgetting appointments can turn your life into chaos. A monthly calendar keeps you on track, but plain grids can be boring. You want a decorative calendar that’s both functional and inspiring. It’s about making planning a visual treat rather than a chore.
Recommended Products to replicate this idea
| # | Preview | Product | |
|---|---|---|---|
| 1 |

|
RED EMBER Untamed & Beautiful Pathways 2026 Wall Calendar 12 Month | 12" x 24" Open | Thick & Sturdy... | Check Latest Price |
| # | Preview | Product | |
|---|---|---|---|
| 1 |

|
Undated Weekly Planner, Weekly To Do List Notebook with Goal & Habit Tracker Organizer, A5 Weekly... | Check Latest Price |
Picture a beautifully hand-lettered calendar with decorative flourishes—floral accents, banners, or icons—marking important dates. You might use different colors for weekends, deadlines, and special events. Artistic touches like doodles or thematic motifs add personality and motivate you to check in regularly. When you glance at it, the calendar feels like a piece of art that sparks excitement.
Design your calendar with a mix of hand lettering and decorative elements—such as banners, icons, or illustrations aligned with your style. Use color coding for different event types—work, personal, family. Adapt the layout for your space—vertical, horizontal, or grid. For seasonal flair, incorporate relevant motifs—snowflakes, flowers, or leaves. Keep it flexible to add or change dates easily.
Sketch your calendar layout, then decorate headers and weekends with matching motifs or colors. Use erasable markers for easy updates, and consider printing or creating reusable templates. Add decorative borders or backgrounds to enhance visual interest. Use stickers or stamps for recurring events or holidays. Regularly update to keep your schedule current and visually appealing. Store supplies nearby for quick edits.
Personalize your calendar with your handwriting style, favorite colors, or themed icons. Incorporate motivational quotes or mini doodles for each month. Use washi tape or decorative borders to frame the calendar. Add small tokens or mementos to mark special dates. This personalized touch makes planning more engaging and meaningful.
A decorative calendar turns scheduling into a creative ritual that you look forward to. It boosts your confidence in managing your time and commitments. Over time, it becomes a visual reminder of your organization skills and style. Staying on top of your plans feels less like a chore and more like a satisfying daily habit.
17. Adding Washi Tape Frames for Important Sections
Struggling to make key tasks or goals stand out on your board? Washi tape frames are a quick, stylish solution. They help highlight important sections without cluttering the space. This simple trick turns dull areas into focal points that grab your attention.
Recommended Products to replicate this idea
| # | Preview | Product | |
|---|---|---|---|
| 1 |

|
Washi Tape Set 30 Rolls, Decorative Tape, Colored Tape, Scrapbook Tape, Craft Tape for Scrapbook... | Check Latest Price |
| # | Preview | Product | |
|---|---|---|---|
| 1 |

|
Scotch Desktop Tape Dispenser, Black, 2.7 in. x 2.7 in. x 6.4 in., 1 Tape Dispenser | Check Latest Price |
Imagine a section of your board bordered with a bold striped tape, drawing your eye immediately. Or picture soft pastel frames around your goals, giving them a calm, organized vibe. When you frame sections like deadlines or priorities, they visually pop, making it easier to focus. The tape’s patterns and colors add personality, tying your entire layout together.
Choose tapes that match your decor—bright and playful, sleek and minimal, or textured for a tactile feel. Use different patterns or widths to create contrast and hierarchy. For seasonal or themed updates, swap tapes to reflect festivities or moods. Combine multiple tapes for layered borders or accents. Even framing smaller notes or quotes can add a cohesive look.
Measure the section you want to frame, then cut the tape accordingly. Apply carefully, smoothing out bubbles and ensuring straight lines—using a ruler or masking tape as a guide helps. For a clean finish, press firmly along the edges. You can also create mitered corners or rounded edges for a softer aesthetic. Regularly replace or reposition tapes to keep your layout fresh and engaging.
Personalize your frames by mixing patterns or adding initials or symbols within the border. Use metallic or glitter tapes for a festive look. Incorporate decorative corner pieces or small icons to emphasize specific sections. Coordinate your tape colors with other decor elements for harmony. This detail elevates your organization system to a stylish display.
Using washi tape frames makes important tasks visually stand out, boosting your motivation to complete them. It turns functional sections into attractive features, encouraging ongoing updates. Over time, you’ll develop a keen eye for design and layout. Your board becomes a confident reflection of your organizational style and creativity.
18. Incorporating Interactive Elements with Magnetic or Sticky Notes
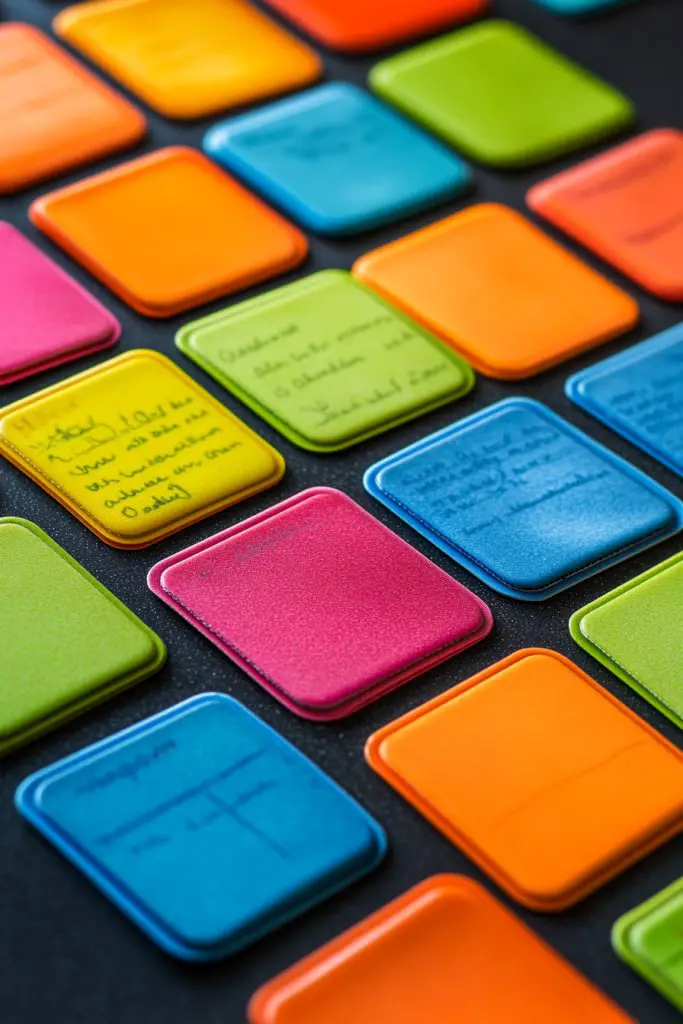
Static notes on a board can become monotonous and hard to update. You want a flexible system that invites interaction and spontaneity. Magnetic or sticky notes make your organization dynamic, playful, and easy to modify. It’s a fun way to stay on top of tasks while adding visual interest.
Recommended Products to replicate this idea
| # | Preview | Product | |
|---|---|---|---|
| 1 |

|
Mr. Pen- Dry Erase Magnets, 4”x4”, 24 Pack, Colorful Dry Erase Magnetic Labels | Check Latest Price |
| # | Preview | Product | |
|---|---|---|---|
| 1 |

|
Post-it Super Sticky Notes, 24 Sticky Note Pads, 3 x 3 in., Ideal for Organization in Your Dorm,... | Check Latest Price |
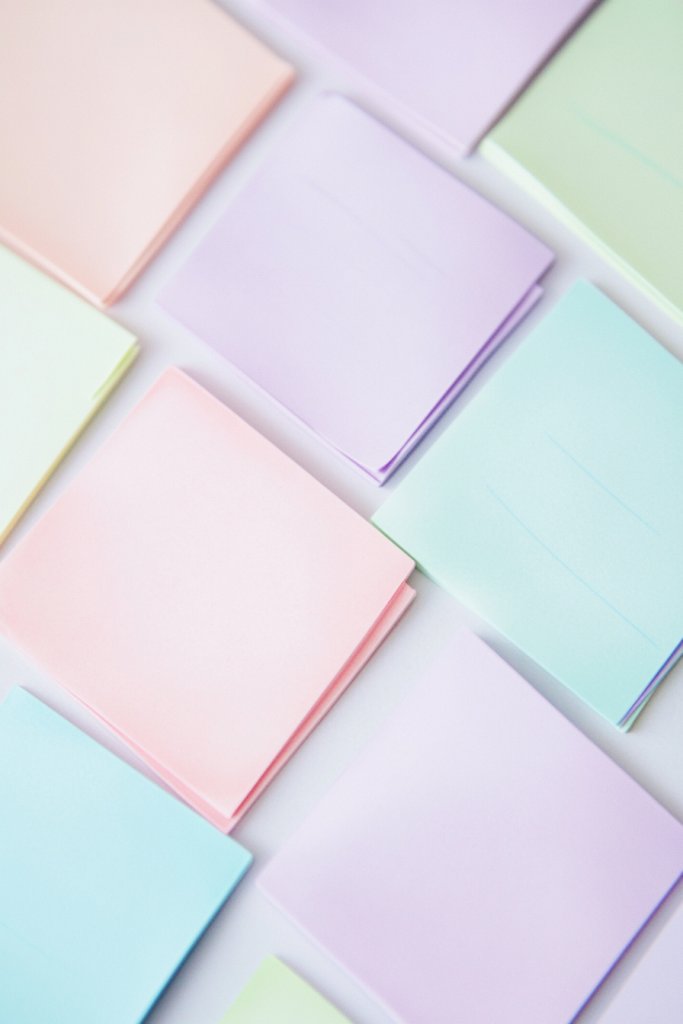
Imagine colorful sticky notes that can be moved, rearranged, or replaced with ease. Magnetic labels or icons can be repositioned as priorities shift, creating a lively, interactive display. The vibrant colors and movable elements make your board feel energetic and engaging. When you glance at it, you see a constantly evolving plan that adapts to your needs.
Choose notes in various colors and sizes to differentiate tasks or categories. Use magnets shaped like icons or symbols for quick recognition. Incorporate grid layouts or freeform arrangements depending on your style. For seasonal updates, switch colors or add themed icons—hearts, stars, or seasonal motifs. Keep a stash nearby for frequent updates or brainstorming sessions.
Organize your notes by categories—urgent, ideas, completed—using colors or shapes. Attach magnets to the back of notes or use adhesive sticky notes directly on your board. Arrange notes in a way that’s easy to scan and update, avoiding clutter. Use a dedicated space for new ideas or quick reminders. Regularly clean and reorganize to keep the system fresh.
Personalize notes with doodles, initials, or icons that reflect your personality. Use themed stickers or decorative borders for special projects. Incorporate a color code system for quick identification of priority levels. For a more polished look, use transparent pockets or sleeves for longer-term notes. Make it your own playful, adaptable system that encourages ongoing interaction.
Interactive elements foster a sense of control and creativity in your planning. They make updating your space a fun activity rather than a chore. As your system evolves, so does your confidence in managing your commitments. A dynamic board keeps you engaged, motivated, and confident in your organizational skills.
Conclusion
From sleek, minimal designs to vibrant, personalized setups, these decorating ideas showcase how versatile and fun a dry erase board can be. Incorporate these styles into your home or office to stay inspired and organized every day. Don’t hesitate—try out these ideas and watch your dry erase board become a cheerful and functional work of art. Your creative transformation awaits!
Last update on 2026-02-10 / Affiliate links / Images from Amazon Product Advertising API