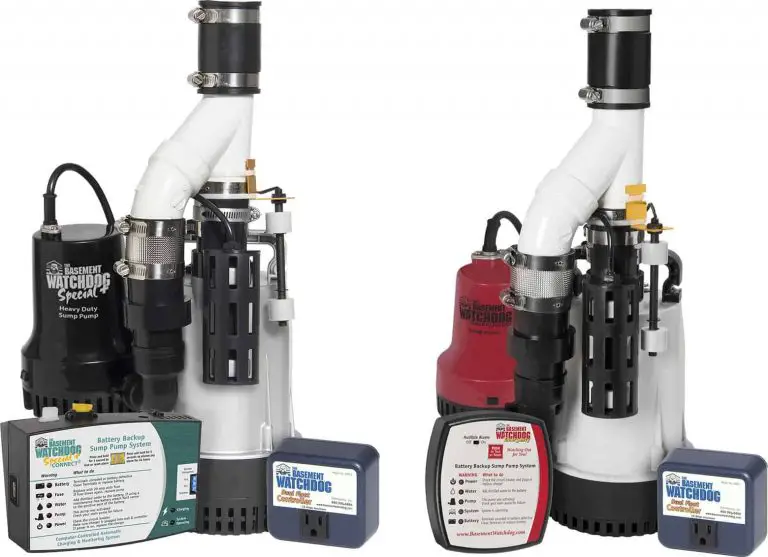
How to Install a Water-Powered Sump Pump
A water-powered sump pump relies on city water and pressure to pump water out your home’s discharge pipeline. It also utilizes no electrical current but runs solely on battery power when the electricity goes off. As the pump cycles, the recycled water in the pump goes through the sewage system and into the groundwater. The pump will run to provide backup power up to a few days until the electric current returns. The water-powered pump may use up to 1 gallon of water from the city system to pump up to 2 gallons of water out of your basement. Installing a water-powered sump pump may take a few hours if you do it yourself.
Tools you will need:
- PVC Pipe saw
- Cleats
- 3-inch screws
- Slotted screwdriver
- Tubing cutter
- Adjustable wrench
- Propane torch
- Saw
- Drill/driver
- Phillips screwdriver
Step 1
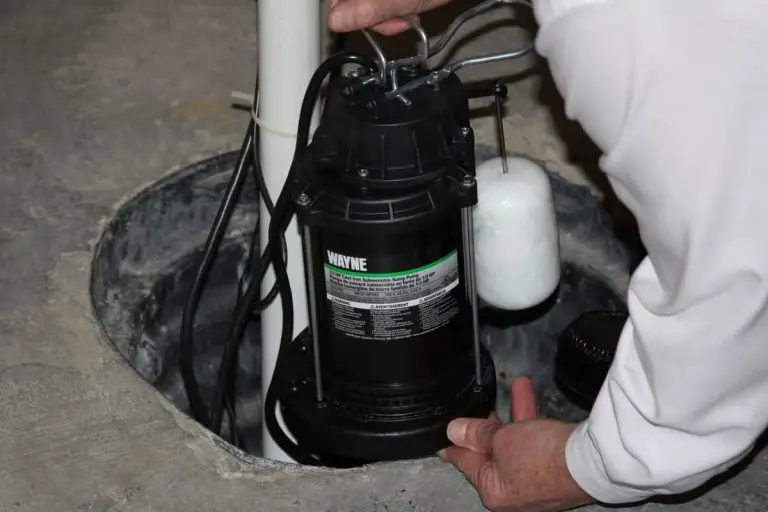
Place the new pump closest to the wall on the primary pump. Position the float on the pump a little higher than the top of the primary pump. It will ensure the ball of the float reaches the water when it rises in the pump. Connect both cleats to the wall over the primary pump and use some screw to fasten them in place. Use the mounting parts to attach the pump to the cleats. Make sure you place the float on the pump a little higher than the top of the primary pump.
Step 2
- Make a slit in the cold-water pipeline that is closest to the pump basin.
- Weld a piece of ¾-inch copper pipe to the cut pipeline. Let it face the direction of the pump.
- Cut a ¾-inch piece of copper pipe and lit it lie from the t-fixture to the control valve on the pump.
- Disconnect the cable from the primary pump and ensure it does not touch the water.
Step 3
- After you attach the pump to the cold-water line, connect the drain line for the water-powered sump pump.
- Disconnect the primary pump and drain the water from the discharge line.
- Undo the vise on the valve with a screwdriver and release the water in the discharge line.
- The valve helps stop water from running back into the drain line and the sump basin.
- After the water runs out, fasten the vise.
- Make a slit in the discharge line that runs from the primary pump.
- Insert a piece of PVC discharge pipe at least 1-1/2-inches wide from the backup pump
- Next, take out a part of the PVC drain line. Make sure it’s big enough to hold the PVC Y-fixture.
- Install the check valve atop the PVC pipe.
- Cut the PVC-fixture to rest between the check valve and the Y-fixture.
- Seal the joints with plumbing cement to hold them in place.
Step 6
Connect the check valve to the backup pump. Clean and weld the pipe and fittings together with some primer and plumbing cement.
Step 7
Loosen and pull apart the back flow regulator. The back flow controller helps prevent water from backing up inside the sump basin.
- open the valve and let any material form the solder run out.
- Re-insert the back flow regulator.
Step 8
- Put some water in the pump pit and test the pump to see if it is working.
- Connect the power to the primary pump and switch it on.
Step 9
Disconnect the power to the primary pump. Lift the backup pump float manually to trigger the water level in the sump basin.
Conclusion
A water-powered sump pump provides backup power when your primary pump fails due to a power outage. The pump can run without current for several hours during basement flooding. The pump uses the house’s water supply to keep pumping water into the sump basin and the drain line. Installing a new water-powered sump pump takes little time and effort. However, backup power is a welcome addition to your primary pump system. It can save you time and money in costly repairs or replacing valuable items lost in floodwater.