How to Install a Battery Backup Sump Pump
Does your area often experience excess melting snow or groundwater entering your basement or crawl space? Although you may have a sump pump, a battery backup system may also help provide another layer of protection against flooding. If your primary pump stops for any reason, the backup battery sump pump can help provide pumping capacity in a crisis. If your pump stops during a power outage, the backup battery sump pump does not operate on electric current.
It can help provide almost 12 hours of backup power during a blackout to help protect your property and valuables.
Tools:
- Plumber’s tape
- Check valve
- Screwdriver
- Plumber’s cement
- 1½-inch PVC pipe
Installing a wall-mount battery backup sump pump
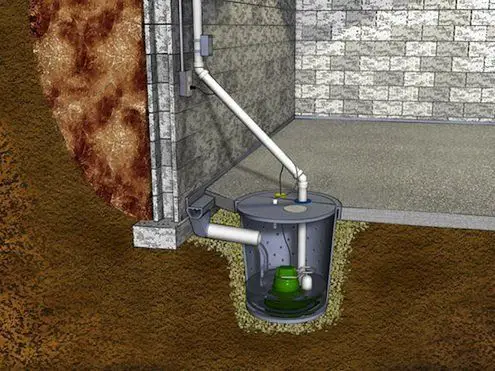
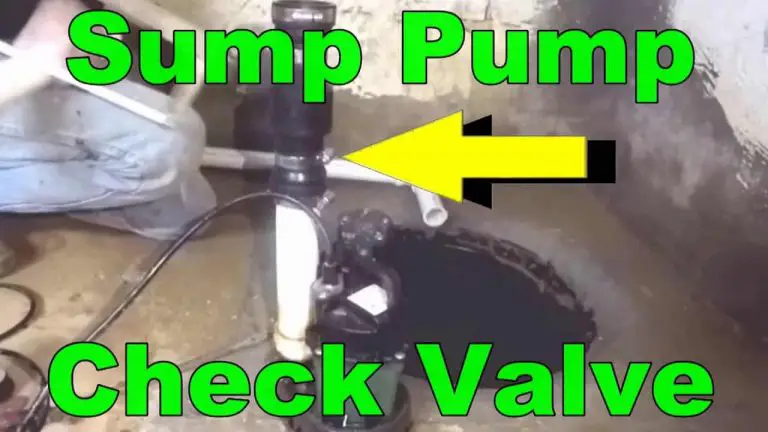
Battery Backup backup sump pumps can mount on the wall. However, some brands also sit in the sump pit along with the primary sump pump. It works through an electric charger to continue cycling during a power failure. When setting up a wall-mount backup pump, you will also need to install a check valve to help keep floodwater at bay. A check valve helps to prevent floodwater from running back into the sump basin when the pump is pushing the water out.
Step 1
Protect the battery by wrapping it in a sheet of plastic and putting it on a storage shelf.
Step 2
Installing the discharge pipe.
Provide an additional outlet to house the cables for the battery backup pump charger and the electric pump. Cut the pipe length and attach it to the pipe adapter with plumbing cement. Connect the pump wire and also ensure the end is not resting in the sump pump. Use a strip of tape to connect the cable to the pipe. Connect the check valve atop the discharge pipe.
Step 3
Position the pump on the wall where you plan to mount it. Let it rest as close as possible or at least 4 feet away from the primary pump. Also, ensure the connecting cables are long enough to reach the electrical outlet.
Step 4
When the pump is in place, check to ensure the operating switch is in the OFF setting.
Step 5
Attach the red battery cord to the corresponding positive + red battery terminal.
Step 6
Attach the black battery cord to the matching black negative- battery terminal.
Step 7
Connect the primary pump to the electrical outlet. Then, connect the cable for the battery backup pump into the A/C outlet.
Step 8
Turn on the operating switch and test the machine once everything is in place. You need to test the pump to see how it is operating. Let the pump begin to run to make sure it is powering a full cycle. Set the pump in battery backup mode when you see it’s working correctly. Unplug the electric cable to the A/C wall outlet to cut the power supply. The output power light should flash, showing that the pump is working without electric power. Next, let the pump cycle again, and check to ensure it is working in the battery backup setting mode. Reattach the power cable when you finish testing the pump. When regular current returns, the battery charger will light up and keep the pump running.
Installing a backup battery sump pump inside the sump basin
Tools
- Utility knife
- Screwdriver
- Plumber’s cement and tape
- Handsaw
Step 1
Detach the power cord to disconnect and take out the pump from the sump basin.
Installing the check valve:
Use plumber’s tape around the joints on the pump. Connect the pipe to the check valve. Use plumber’s tape to fasten the valve to the die of the pump.
Step 2
Put both the pumps inside the sump basin.
Step 3
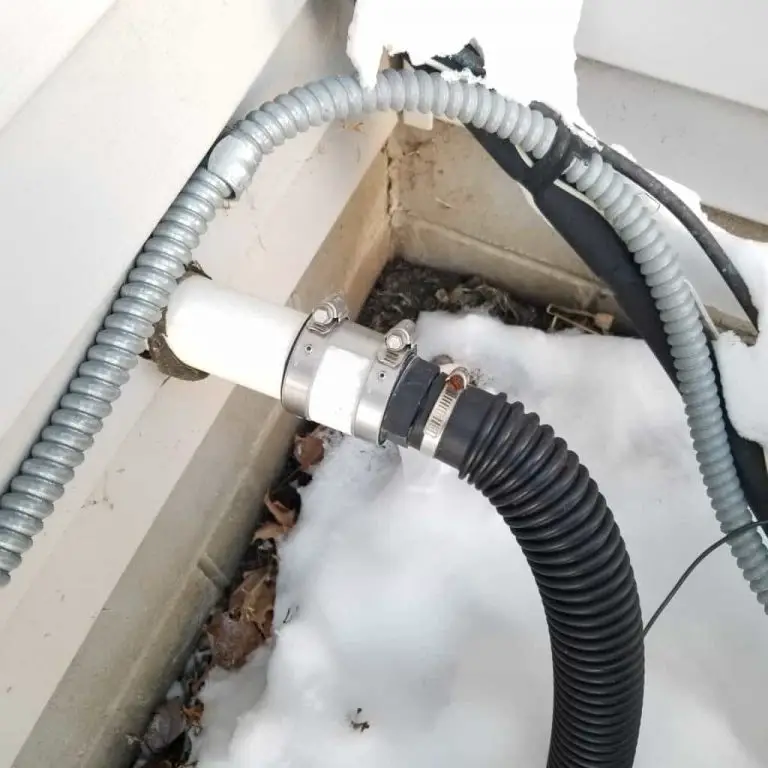
Installing the discharge pipeline.
- Cut the pipe to the correct length.
- Use some plumber’s glue to attach it to the pipe fittings and the discharge line.
- Some experts also recommend using a rubber attachment with a stainless steel hose clamp for a stronger bond.
Step 4
Installing the battery
Put the battery in the plastic casing box and set it on a storage ledge. Attach and connect both cables for the primary sump pump as well as for the backup sump pump charger.
Step 5
Test the pump
Raise the check valve inside the primary pump basin and wait for the pump to start. Do the same process to ensure the battery backup pump is functioning correctly.
Conclusion
A battery backup sump pump helps provides additional backup power supply when your primary pump is not working. You can opt for a wall-mount system or attach it close to your primary pump inside the sump basin. Installing it is simple and stress-free. In a few minutes, you can have your backup pump up and running to help provide power in a crisis.