How To Replace A Pedestal Sump Pump
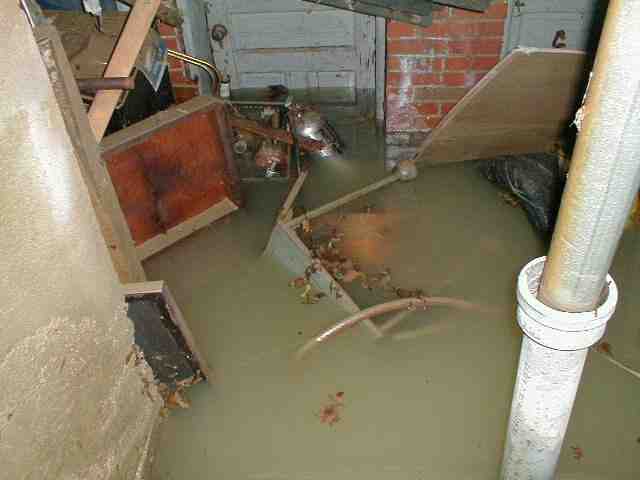
Water settling around your house or basement space can be dangerous. A pedestal sump pump can help control rising water and ensure it’s running into the draining system quickly to avoid flood damage. Floodwater can damage your foundation and destroy valuable items that may be impossible or costly to replace or repair. Therefore, it’s vital to ensure your pump is working and ready when the water rushes into your basement.
If the pump fails or is no longer pumping adequate levels of water, it is time to replace the pedestal sump pump. Replacing a pedestal sump pump is manageable, once you follow the proper guidelines. Here is how to replace your pedestal sump pump.
Tools you need:
- Pipe wrench
- Gloves
- Glasses
- Boots
- White cement
- Check valve
- Threaded PVC pipe
- PVC primer
- Pliers
- Screwdrivers
- Shovel or rake
- One and a ½-inch PVC pipe
- Tape measure
- PVC glue
- Hacksaw
Take out the old pedestal sump pump
- Disconnect the cord running to the sump pump and discharge pipe.
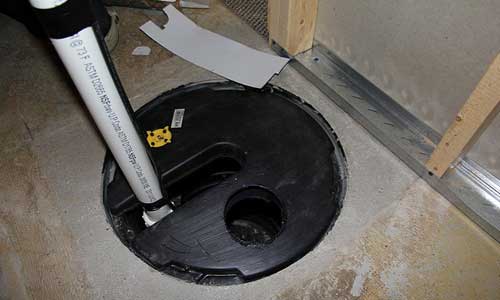
- Uncover the sump pit and grip the pump by the handle or neck and pull it out of the basin.
- Place the pump on the basement floor.
- Use a rake or shovel to spread the gravel in the pit level to the base of the sump pit.
- Use a hacksaw and cut away the PVC pipe.
Attach the discharge pipeline
Measure the length of the new PVC pipe you will need, or you may re-use the old pipe if it is in good condition. If you’re using a check valve, install it now. The valve helps control water flow into the pipes and helps stop it from flowing back into the sump pump. Next, prime the new pipe or the old discharge line as necessary. Prime the openings on the check valve. Connect the outer pipe to the discharge pipeline. You can connect the parts using a hose clamp with the rubber part or by a union.
- Use some plumber’s glue and attach one hole to the valve and the other end to the pipeline.
- Grip the valve and let it rest on the pipeline for a few minutes to dry.
- Prime the next valve opening and run the pipe through it. Let it rest for some time to set it securely in place.
- Replace the new PVC pipe into the discharge line using a male connector.
- Seal the pipe with some cement and priming material.
Test the new pump
After the cement dries, put the new sump pump in a container of water and plug it into the electric outlet. Observe how the water runs out of the pipeline. If it is not flowing correctly, check for any clogs inside the pipeline. A snake or long piece of wire can dislodge any obstacles in the line.
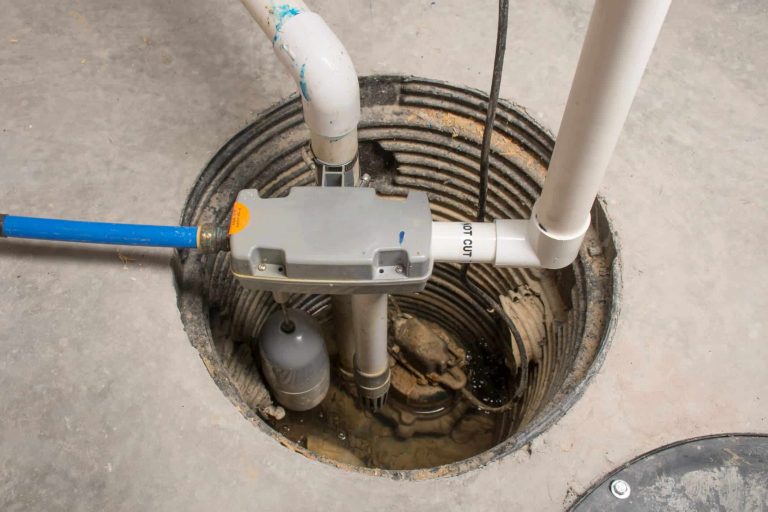
Put the new pump inside the sump basin
- When everything is clear, set the new pedestal pump inside the basin.
- Gently lower the new pump into the pit and make sure it rests level on the floor of the pit.
- Check to ensure the float switch is not touching the basin walls or any other parts that may be present.
- Connect the valve to the rest of the PVC pipeline.
- Connect the other end of the pipeline to the old pipes and attach them with a union connector.
Test the pump
- Use at least 5 gallons of water to test how the pump is working.
- Allow the pump to start cycling.
- Attach the electric cable to the new pump and switch the current on.
- Observe how the pump is working to drain water out of the sump basin.
Final Words
Your pedestal sump pump is essential to ensure it is ready to handle rising floodwater around your house. Replacing your pedestal sump pump is simple and takes under an hour to put in place. Always wear your safety gear and disconnect the electric current before attempting any work. When replacing the pump, check the condition of the discharge pipes and check the valve for any clogs that may be blocking the lines. When attaching the new lines, seal the connections to make them airtight and water-proof. Lastly, test the pump to ensure it is cycling and pumping the water correctly.